If you’d like to exclude a group of galleries from receiving Sales Campaign emails, you can do so by creating a dedicated “No Emails” Price List. This allows you to control which galleries are included in promotional campaigns without managing them individually.
For detailed instructions on creating a Price List, selecting products, and configuring lab fulfillment, see: Setting Up a Price List
When Should You Use This?
Use a “No Emails” Price List when:
-
You want to exclude a large group of galleries at once without managing them individually in each campaign
-
You have galleries that should not receive promotional emails (e.g., personal, private, or non-sales-focused galleries)
-
You regularly participate in Sales Campaigns but need a consistent way to keep certain galleries excluded
-
You want to maintain a non-intrusive experience for specific clients
📌 You can always reassign a gallery to a different Price List if you decide to include it in a future Sales Campaign.
Step 1: Create a “No Emails” Price List
1) From your Main Dashboard, go to Settings

2) In the Store Pricing tab, click + New Price List

3) Enter a name (e.g., “No Emails”), then select your preferred labs and markup preset. Once completed, click Create Price List
4) Open the created Price List and click Assign to Galleries

5) Use the available filters to quickly narrow down and locate the galleries you want to assign to the “No Emails” Price List. You can also use the search bar to find specific galleries by name.

Checkmark the galleries you would like to include in the “No Emails” Price List and click Apply

Step 2: Exclude This Price List from Campaigns
1) Complete your Sales Campaign customization (discount, duration, emails, and banners). Once done, click Assign to Galleries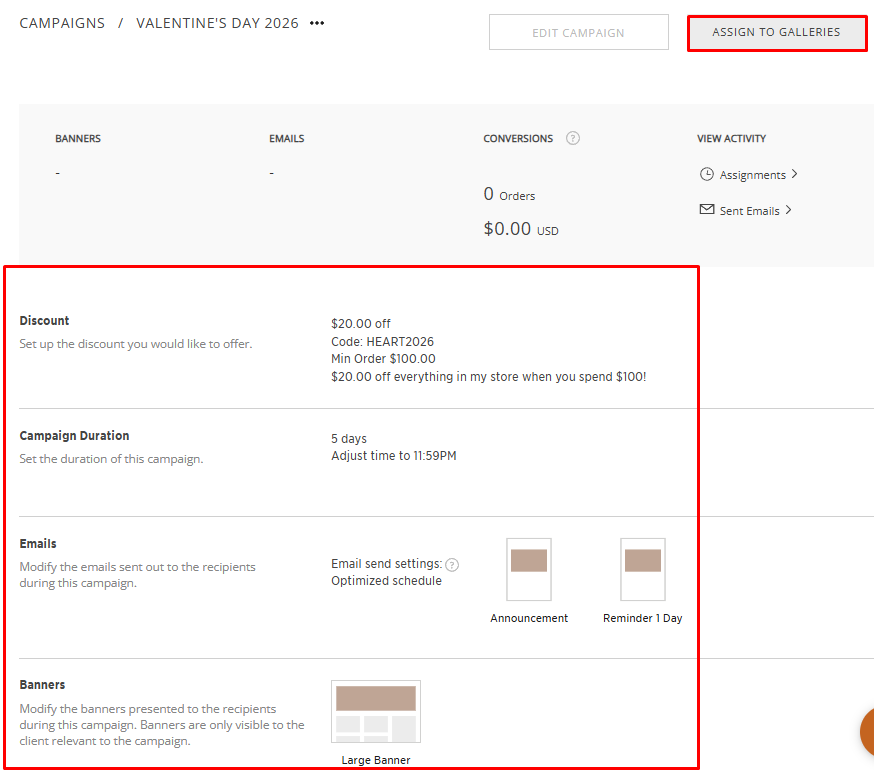
2) In the campaign activation stage, click the pencil icon to select the galleries.

3) Choose one Price List you want to include in the campaign (e.g., Default).
-
Click Select All to include all galleries within that Price List
-
Click Apply to confirm
📌Please note: You can only select one Price List at a time.

4) Complete the campaign setup by, Selecting your recipients, setting the start date and time
⚠️ If the start time is set to Now, the campaign will begin immediately.
Click Save to apply the campaign to this Price List.

Step 3: Repeat for Additional Price Lists
1) To include more Price Lists, reopen the Sales Campaign

2) Click Assign to Galleries again

3) Select another Price List

4) The total number of assigned galleries will update each time. 5) Repeat the setup (recipients + schedule) and click Apply

📌 Repeat this process for all Price Lists you want to include in the Sales Campaign, excluding the “No Emails” Price List.
Need Help?
If you’re working with a large number of Price Lists or galleries, our team can help streamline the process.
Contact help@passgallery.com with:
-
Your “No Emails” Price List already set up, or
-
A list of galleries to exclude so we can create the “No Emails” Price List for you.